
Is your house bursting at the seams every time guests stay over, yet moving feels impossible in today’s market? Many homeowners wrestle with the same dilemma: loving their neighborhood but needing more room. A well-planned addition can be the perfect answer—provided you know what lies ahead and how to navigate every step.
In this guide, you’ll get a transparent look at the full home addition process, from first sketch to final coat of paint. You’ll discover how long each phase typically takes, where the biggest budget surprises hide, and what you can do to stay comfortable while work is underway. Read on so you can start dreaming—and acting—with confidence.
Laying the Groundwork for Success
Before walls go up, a successful addition is won or lost in the preparation. The following points walk through the critical groundwork that ensures your project starts on a solid footing.
Seeing the Big Picture
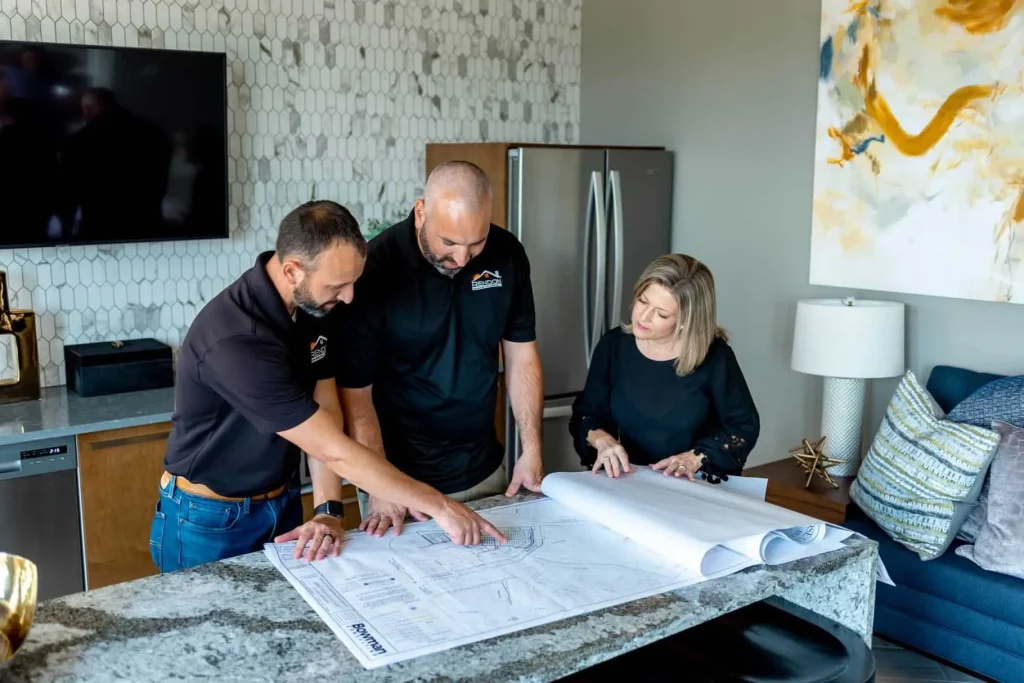
Clarity of purpose fuels smart home addition planning. List your must-haves—extra bedroom, second story, in-law suite—then decide which features are nice but not mandatory. A clear wish list provides your designer with meaningful constraints that keep creativity focused rather than scattered.
Budgeting You Can Trust
During home addition planning, allocate funds for design fees, permit costs, temporary living expenses, and a 10–15 percent contingency for the unexpected. Transparent pricing discussions up front save headaches once construction begins and minimize painful change orders down the road.
Permits, Surveys, and HOA Approvals
Every municipality in Northern Virginia has its own code requirements. Your contractor should verify setbacks, height limits, utility easements, and HOA guidelines before submitting plans. Securing approvals can take anywhere from 2 weeks to 3 months, so plan your calendar accordingly.
Construction: From Footings to Weatherproof Shell
With permits in hand, construction kicks into gear. These milestones outline how the jobsite transforms week by week.
Site Preparation and Foundations
Crews stake out the footprint, install protective fencing, and clear landscaping as needed. Footings are poured, block or poured-concrete walls rise, and waterproofing membranes seal the foundation against moisture. Expect occasional vibration and noise but minimal interior disruption during this phase.
Framing to Roof Sheathing
This is the most visually dramatic stretch in the entire build. Dimensional lumber, subfloors, and trusses create the skeleton that makes your addition look like, well, an addition. Once the roof sheathing goes on and the windows are installed, the structure becomes weather-tight, allowing interior work to accelerate.
Mechanical Rough-Ins
Electricians, plumbers, and HVAC specialists snake lines through open studs. Efficiently coordinating these trades prevents schedule bottlenecks. Local inspectors review rough-ins before walls are closed, protecting safety and ensuring code compliance.
Insulation and Drywall
Spray foam, batt insulation, or blown-in cellulose adds thermal performance. Then, drywall crews hang, tape, and finish boards, turning an active jobsite into something that finally feels like a living space.
Bringing Character to Life
After the mechanicals are hidden and the drywall is finished, the job shifts from structural to aesthetic. This stretch is where your personality shines through every selection.
Flooring, Millwork, and Built-Ins
Hardwood planks, luxury vinyl, or tile are installed, followed by baseboards, crown molding, and custom shelving. Attention to detail here determines how seamlessly the new room blends with existing architecture.
Paint, Fixtures, and Hardware
Walls receive primer and two finish coats, then electricians return to set outlets and hang fixtures. Faucets, knobs, and pulls complete the functional décor, giving your addition its final polish.
Final Walk-Through and Punch List
Together with your builder, you’ll examine every wall, switch, and hinge. Any scuffs or touch-ups are documented on a punch list, then resolved before the project can be formally closed out and warranty coverage begins.
Managing the Calendar and Your Comfort
Even the best-run project disrupts daily routines. These strategies help you maintain normalcy while keeping the room addition timeline on track.
Communicate, Communicate, Communicate
Weekly check-ins—whether on-site or virtual—keep small issues from snowballing. Ask your contractor for a shared cloud schedule so you always know who’s arriving and when.
Living at Home vs. Moving Out
Many families remain in place during construction, especially when the new footprint is isolated from the kitchen or owner’s suite. Dust barriers, negative-air machines, and discrete exterior entrances minimize intrusion. If utilities need to be cut or main living areas demolished, budget for short-term accommodations.
Staying on Schedule
Small proactive steps can shave days off your room addition timeline. Build slack time into the master calendar, approve selections early, and respond promptly to field questions. Your involvement directly influences momentum.
Cost Factors That Surprise Owners
Because additions tie into existing structures, unforeseen hiccups can crop up. Knowing the common culprits helps you pad your contingency wisely.
Structural Discoveries
Hidden rot, undersized framing, or aging electrical panels often surface only after demolition. Addressing them upfront preserves the long-term health of your home.
Site Access and Logistics
Tight suburban lots limit staging space for materials and heavy machinery. Additional labor to hand-carry supplies can nudge costs upward.
Utility Upgrades
A larger footprint may overload your current HVAC or require a service panel upgrade. Plan for this possibility when assessing the total investment for building home addition dreams. The key to building home addition success is anticipating these costs early.
Peace of Mind After Move-In
Your addition might look perfect on day one, but how it performs over the years truly matters.
Warranty Coverage
Reputable contractors back their work with clear warranty periods for workmanship and manufacturer warranties for products. Keep documentation organized for easy reference, should issues arise.
Seasonal Settling
New lumber dries, and homes expand or contract with humidity swings. Minor drywall cracks or nail pops are normal; schedule touch-ups at the one-year mark.
Energy Efficiency Monitoring
Looking back on the home addition process, many homeowners say the journey was smoother when they stayed engaged and asked questions throughout. Compare utility bills before and after the project. A well-insulated addition with modern windows should not spike heating or cooling costs. If it does, airflow balancing may be required.
Northern Virginia Home Additions with Rendon Remodeling & Design
We believe expanding a house should feel exciting, not overwhelming. As a family-owned design-build firm serving Northern Virginia since 2005, Rendon Remodeling & Design, LLC blends creativity with precise craftsmanship to deliver additions that look original to the home and elevate daily living.
From brainstorming concepts to handing over new keys, we guide clients through each stage with transparent timelines and friendly communication. Kitchens that flow into bright sunrooms, primary-suite retreats, multi-level decks—whatever space you’re missing, we’re ready to build it with care. Let’s talk about the next chapter for your home in Fairfax, Arlington, or Loudoun County.